Reflections of a budding product stylist-photographer
Some months ago, we opened its doors to product styling. “FINALLY!” screamed my insides. Having done white background images for the past two years, I was hungry for something new. Some months in, I would not say I have mastered lighting, or creating gloriously sleek styled photos.
Image Credit: Marianne Taylor
After getting the relevant styled photo references from clients, my warrior eyes would scan Pinterest for inspiration. “Does this fit the ‘feel’ they are going for?” is a recurring question on my mind as I scour the Web.
CaptureOne booted up, camera switched on, as are the studio lights. Let’s get down to business. Here’s a made-up saying: Light is like ‘food’ for photography, feeding on different kinds of light you give it would also get you varying effects; subject to likeability. I experiment with the lights a lot, matching ‘expectation’ to reality as much as possible. There is a lot at stake here.
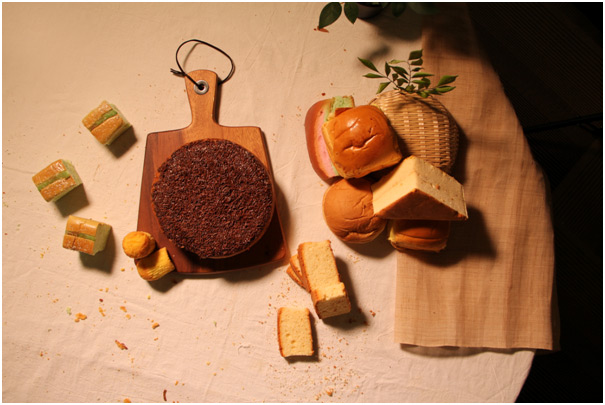
I like to look for natural light to aid my light setup. That magical ‘glow’ from Nature’s key light itself lends the ‘pop’ otherwise also achievable through editing. Of course, a rule I do my best to keep by is to minimise digital work. Like makeup, it is meant to enhance elements as they are. Overcast days are definitely not my best friends, but that does not hinder me from working with what I possess.
If the picture above gave you a ‘warm’ feel, that is because only ambient lights were used. They were also shone directly onto the cakes and breads, casting the harsh shadows. A black cloth was also added to form the backdrop to further accentuate the silhouette.
A combination of white and ambient light shining on a product from opposite sides would create that ‘dreamy’ effect one might fancy. Perfect for feminine items like skincare, makeup and lingerie.
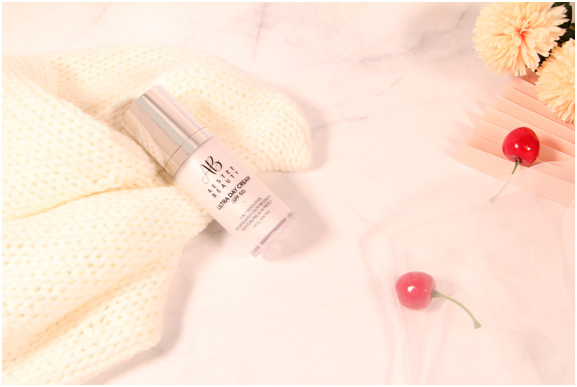
Having a strong key light (like the aforementioned Sun) sometimes, is more than enough to cast a defined shadow; doing wonders to highlight a product. To add extra ‘oomph’ to the visual, I may throw in an additional light to fill in and not make the shadow so harsh. It really depends on the ‘feel’ our clients go for.
Another golden rule I play by is to minimise the number of props, for the use of styled (or any) images are to put emphasis on a subject: the product. The goal is to generate more revenue with that visual. “Too many cooks spoil the broth.” This is especially true for product styling as well. Having a lot of props does not mean a visually compelling piece. I would usually have a maximum of three pieces of prop to ‘decorate’ a product.
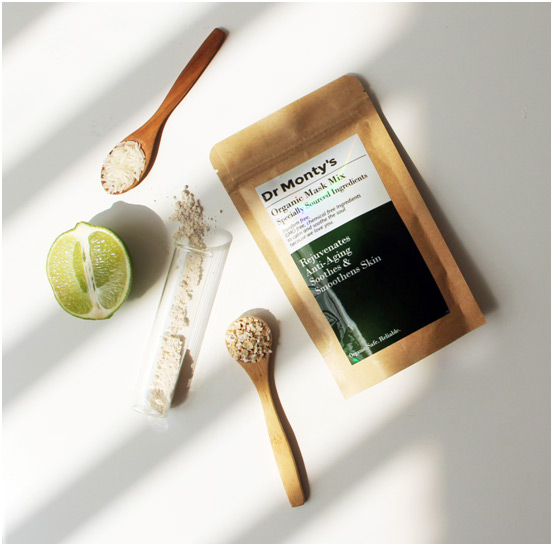
Should the request be a group styled image, say 3 products in the same shot, I would keep to the same number as well. I might even cull the number of props to allow the products to ‘breathe’ more. Ensuring all the products you want highlighted in your shot have the relevant space to be in the spotlight would help in creating a piece that make viewers go, “Nice.”
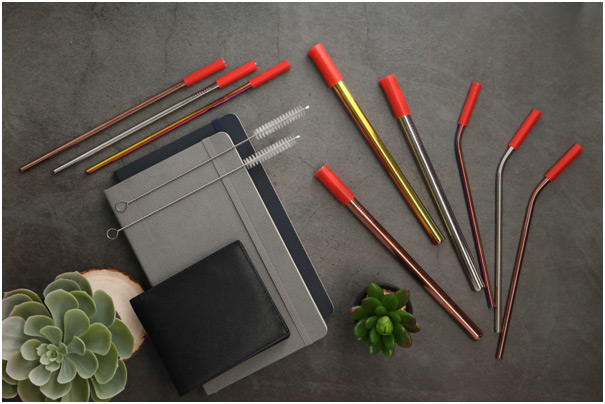
But for you who may be thinking of attempting this yourself, is ‘nice’ what you want to stop at? If the eventual result of sales conversion is what you are gunning for, you would want to keep improving. As we millennials put it, you have to ‘up’ your game.
Having the number of props lessened so they do not ‘swallow’ your product(s) up is but the tip of the iceberg. As mentioned earlier, light and how it’s used in a shot is critical. You have to make sure it plays to the product’s advantage, with props visually aiding your subject(s). And as much as your lights hit all the right spots, you have to ensure that the props used in your shot does not get in the way. It would be wise to place your product first, adjust your lights, then work the props into the photo.
But how do we decide which props go along with a product? What if the products do not have much to ‘decorate’ around? I guess this calls for another entry of learnings. Till the next time, SnappyFly sends our regards!
JaslinAmedeeGoh
(Budding) Head of Photography, SnappyFly
Summarised Learnings:
- Reference images to decide if the ‘feel’ will reflect your brand
- The Sun is a great key light
- Lights shining as close to a product as possible create harsh shadows, helping to accentuate it
- Determine number of props to an as-needed basis
- Place your products first > Position your lights > Work your props in the shot
